PRINT LAB / PRACTICAL WORKFLOWS
Print the label slots you need
Keep the label dimensions fixed while skipping the first used slots and continuing a blank-label batch onto extra sheets.
Plan the first sheet
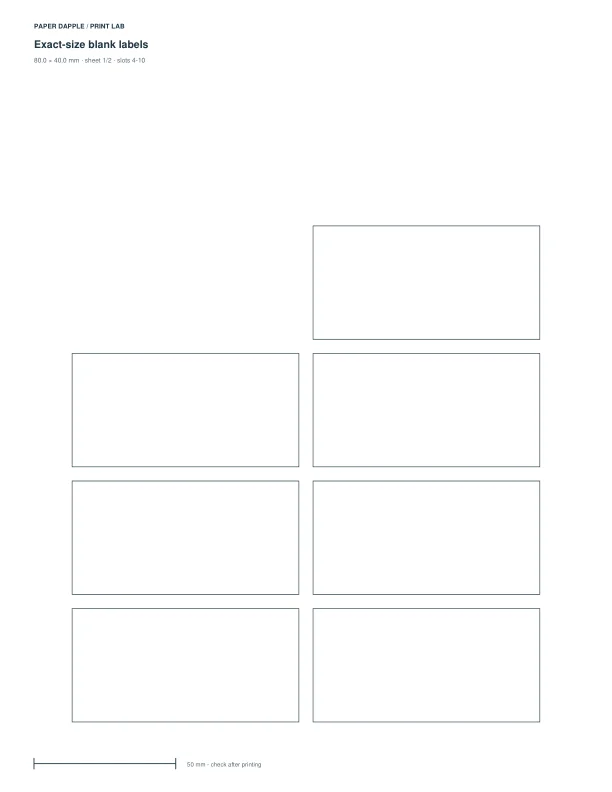
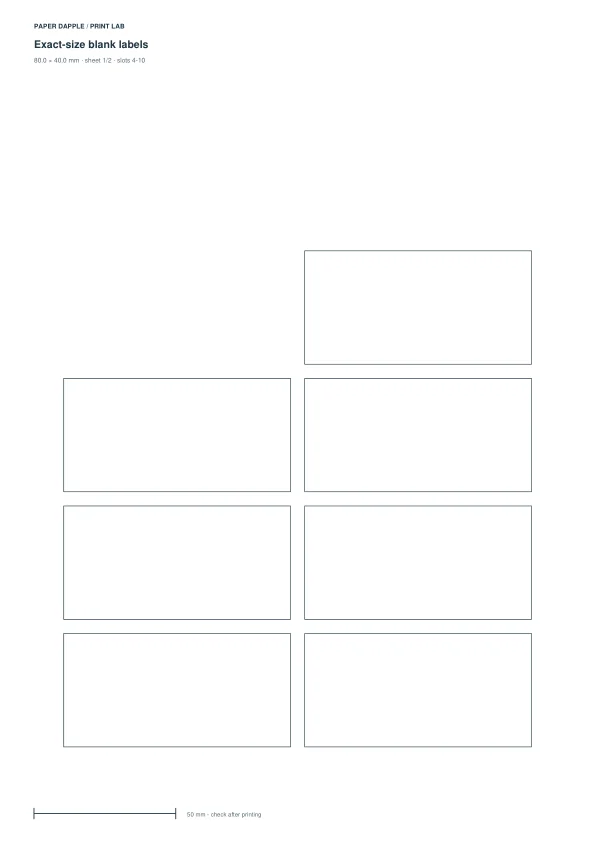
Set paper, orientation, margins, label size and gaps. The solver centers the resulting grid. Slot 1 is at the top left; numbering moves across a row, then down. Choose the first slot to draw.
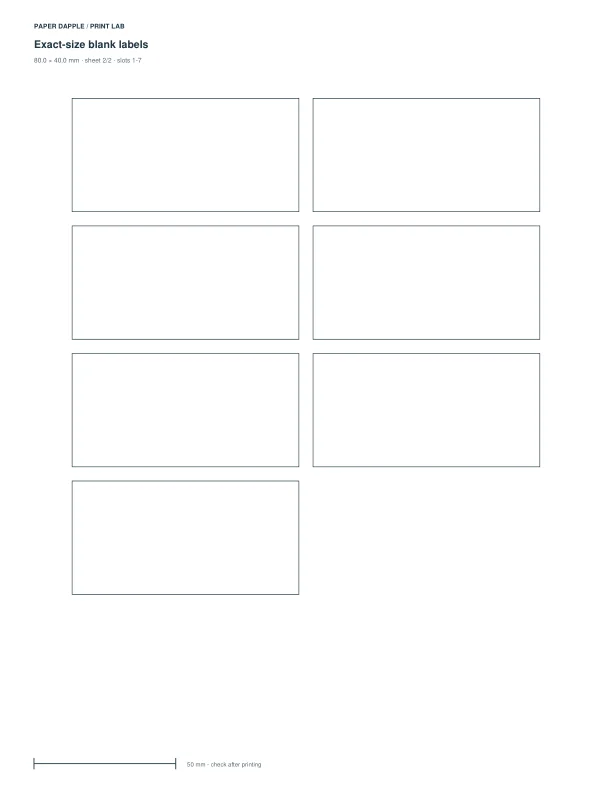
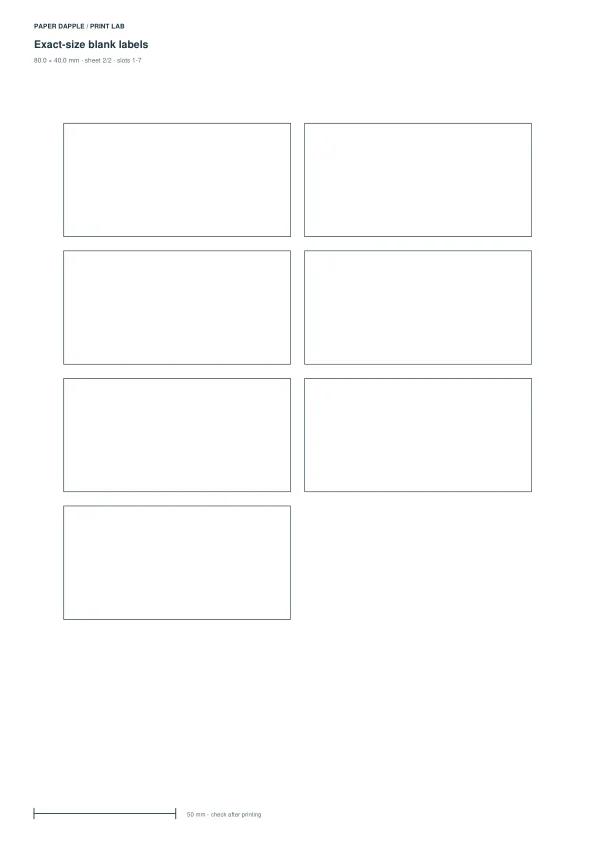
Enter a positive label count for a batch, or zero to fill only the remaining slots on the first sheet. Subsequent sheets start at slot 1. Unused slots are left without outlines; labels are never shrunk to squeeze them in.
Inspect the physical layout
Read the output plan and inspect every preview page. This is a custom blank cut-apart layout, not a branded adhesive-sheet template. Match a plain-paper trial against your intended material. Follow printer and stock instructions before feeding a partially used sheet.
The supported count is at most 2,000 labels and 200 output sheets. Invalid slot numbers, impossible dimensions and larger batches are rejected. PDF export uses the requested geometry; printer settings can still change the result.
Use Print Tray deliberately
A generated batch can be added to the in-session Tray. Its exact-size restriction is retained. Check copies and page selection there before exporting; the Lab count describes the source batch, not additional Tray copies.
Examples from the actual generator
These previews are rendered from the downloadable PDFs. They are not physical print tests or commercial stock certifications.