Paper crafts

Layered pennant bunting

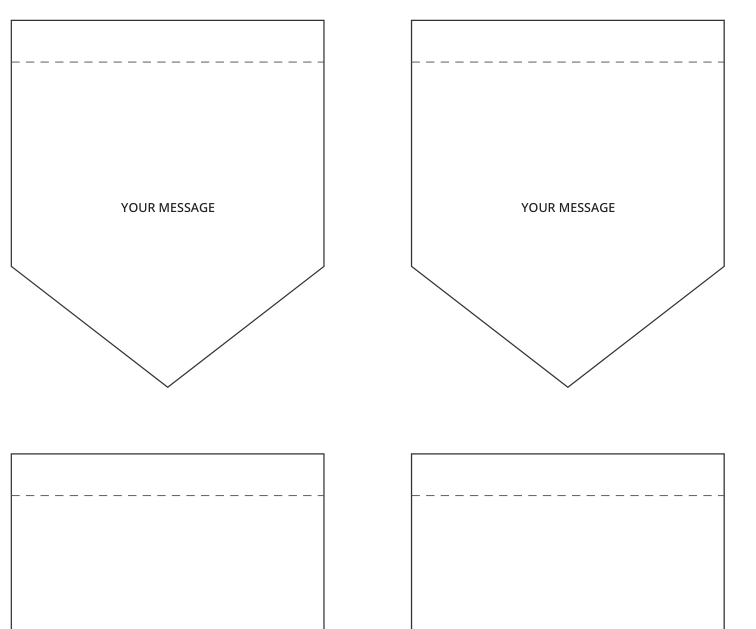
Build layered bunting with separate outer pennants and inset pieces. The hanging flap belongs to the outer piece; the inset is positioned below it.

Previews show up to the first two pages. Download the PDF for every page listed in its contents.

Page 1 of 2

Preview of the actual PDF. Open the PDF

MAKE IT WORK FOR YOU

Your printable.

All exact editions
Paper
US Letter
Pages
2
Sheet
215.9 × 279.4 mm
Format
Print PDF
Download PDF

Free · 32 KB · No account needed

Pages in this PDF
  • Page 1 — outer pennant with 10 mm hanging flap (2 pieces); inset pennant layer (2 pieces)
  • Page 2 — Assembly instructions

Enter these page numbers in your PDF viewer’s print range. Keep any instructions, matching answers and required project pieces.

Layered pennant bunting / LETTER

A good fit for your idea?

Use the included placement instructions. Hanging material and supports are not supplied, and cords need an appropriate safe location.

Make the layers do different jobs

Use contrasting stock or finishes to show the border without covering the fold area. Dry-position an inset, compare it with the diagram, then attach it before folding the hanging flap. This is a real two-layer assembly, not a second name for a single flag outline.

Inside this edition

Items per page
Page 1: 4; Page 2: 0
Instruction pages
1

4 outlined items on the first sheet.

Two 75 × 88 mm outer pennants and two 63 × 65 mm inset layers; 10 mm hanging flaps.

From file to finished page

  1. Choose the paper size loaded in your printer and open the matching PDF.
  2. Print at actual size and measure the 50 mm reference line before using physical measurements.
  3. Cut the two larger outer pennants and the two smaller inset pieces from sheet 1. Solid outlines are cuts; the dashed line on each outer piece marks its 10 mm hanging flap.
  4. Place each inset 6 mm from the outer piece’s left edge and 16 mm below its top edge. Check the layered diagram on sheet 2: the inset stays below the flap and above the bottom point.
  5. Glue the inset flat without covering the hanging flap. Let it set before creasing the flap.
  6. Fold the 10 mm flap to the back over ribbon or cord; secure the folded flap without gluing the whole string in place if you need to adjust spacing.
  7. Test one flag and its support before repeating the design. Keep hanging cords out of reach of young children.
Printing and use notes

Make one trial on ordinary paper before using special stock or preparing a batch. No physical test result is claimed.

Direct PDF files for every edition
  • Layered pennant bunting / LETTER · 2 pages
    Page numbers and contents
    • Page 1 — outer pennant with 10 mm hanging flap (2 pieces); inset pennant layer (2 pieces)
    • Page 2 — Assembly instructions
  • Layered pennant bunting / A4 · 2 pages
    Page numbers and contents
    • Page 1 — outer pennant with 10 mm hanging flap (2 pieces); inset pennant layer (2 pieces)
    • Page 2 — Assembly instructions

Use permissions · Report a problem with this printable

KEEP THE IDEA GOING

A few more possibilities.

Explore projects
Preview of Table pennant flags

Gifts & celebrations

Table pennant flags

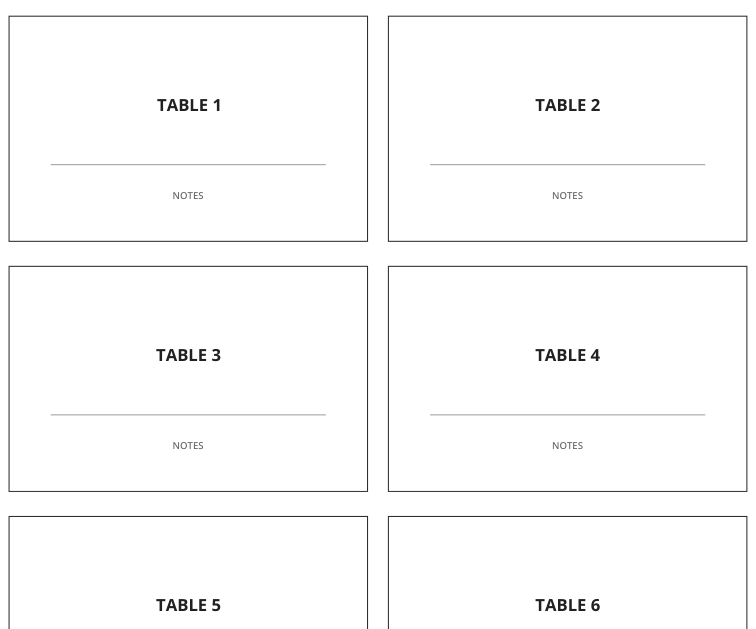
Use the prepared layout to organize the information or pieces for this task.
US Letter / A4
Preview of Folded place cards

Gifts & celebrations

Folded place cards

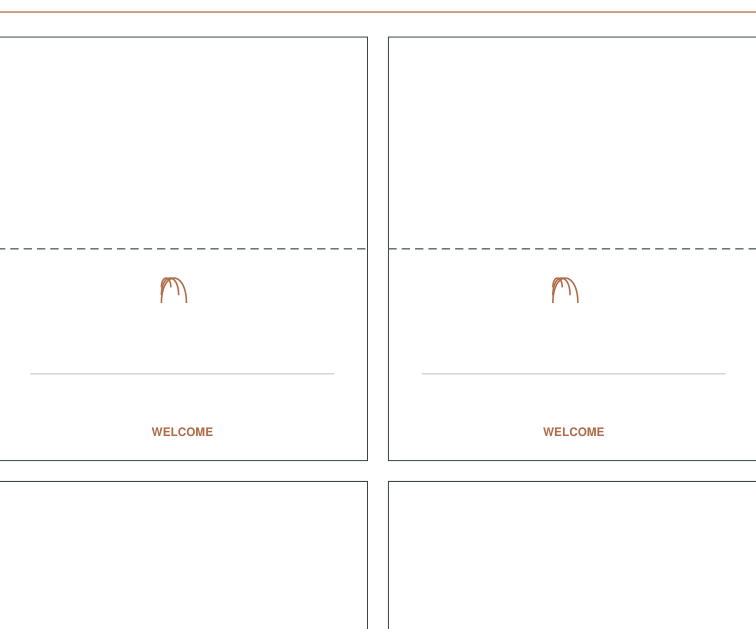
Make a self-supporting name tent for a table setting.

US Letter / A4

Layered pennant bunting