
Paper crafts

Opening Flower pop-up mechanism project

Opening Flower pop-up mechanism project developed as a measured original paper study. The packet provides the actual parts, joining or shaping marks, drawing dimensions and an assembly sequence. Print at actual size and dry-fit the parts before gluing.
Previews show up to the first two pages. Download the PDF for every page listed in its contents.

Page 1 of 4

Preview of the actual PDF. Open the PDF

MAKE IT WORK FOR YOU

Your printable.

All exact editions
Paper
US Letter
Pages
4
Sheet
215.9 × 279.4 mm
Format
Print PDF
Download PDF

Free · 25 KB · No account needed

Pages in this PDF
  • Page 1 — Assembly instructions
  • Page 2 — 180 x 128 mm card
  • Page 3 — six-lobed flower (4 pieces)
  • Page 4 — Assembly instructions

Enter these page numbers in your PDF viewer’s print range. Keep any instructions, matching answers and required project pieces.

Opening Flower pop-up mechanism project / LETTER

A good fit for your idea?

Letter and A4 preserve the component dimensions. Choose the sheet you will print, not a different object size.

Materials and construction

Plain 100 to 140 gsm paper for a first dimensional trial; approximately 160 to 220 gsm card only after confirming the folds. Use a ruler, suitable scissors, a blunt scoring tool and a small amount of paper adhesive. An adult should handle internal cuts, holes and small fasteners.

Before making a batch

Measure the 50 mm reference and two named component dimensions.

Make a complete empty trial and document fold direction, joining order, collision, stability and any fragile features.

Repeat the trial using your chosen paper. Check that every join holds and each moving part works freely before decorating.

Inside this edition

Instruction pages
2
Orientation
Portrait

Four roughly 88 mm six-lobed flower units with cross-fold shaping guides.

From file to finished page

  1. Cut and score all four flower units, gently cupping the lobes.
  2. Fold each unit in half and bond adjacent half-backs together, leaving petal edges free.
  3. Attach the first and last half-backs to opposite card halves near the hinge.
  4. Close and open slowly to check petal collision and fold direction; glue only after a successful dry-fit.
Printing and use notes

Drawing dimensions describe flat paper surfaces, not verified internal capacity, load strength, fit or material compatibility.

No mailing, food-contact, archival, toy-safety, protective-wear or cutting-machine certification is supplied.

Make a plain-paper trial first; paper thickness and fold accuracy can change the fit.

Direct PDF files for every edition

Use permissions · Report a problem with this printable

KEEP THE IDEA GOING

A few more possibilities.

Explore projects
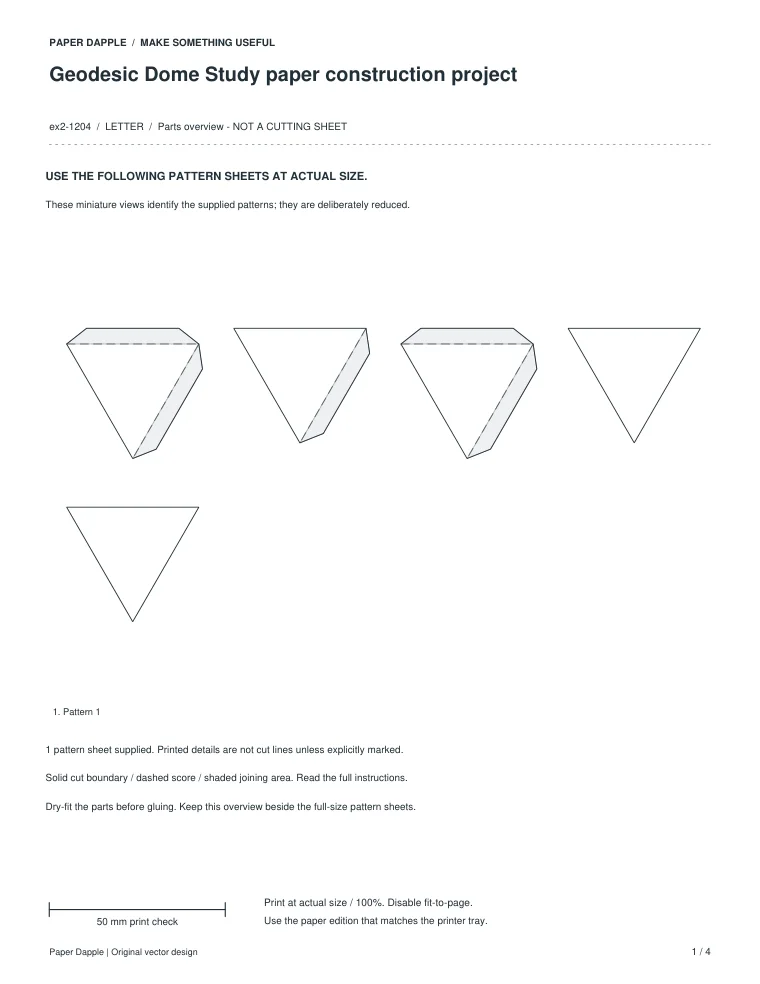
Preview of Geodesic Dome Study paper construction project

Paper crafts

Geodesic Dome Study paper construction project

Geodesic Dome Study paper construction project developed as a measured original paper study. The packet provides the actual parts, joining or shaping marks, drawing dimensions and an assembly sequence. Print at actual size and dry-fit the parts before gluing.

US Letter / A4
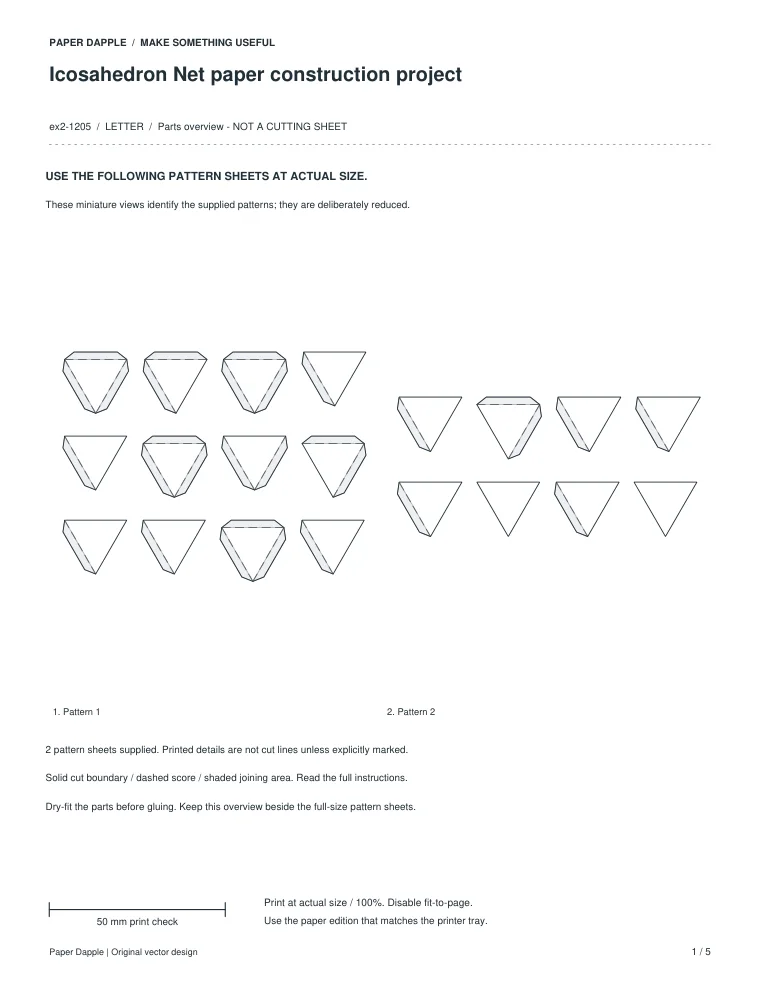
Preview of Icosahedron Net paper construction project

Paper crafts

Icosahedron Net paper construction project

Icosahedron Net paper construction project developed as a measured original paper study. The packet provides the actual parts, joining or shaping marks, drawing dimensions and an assembly sequence. Print at actual size and dry-fit the parts before gluing.

US Letter / A4
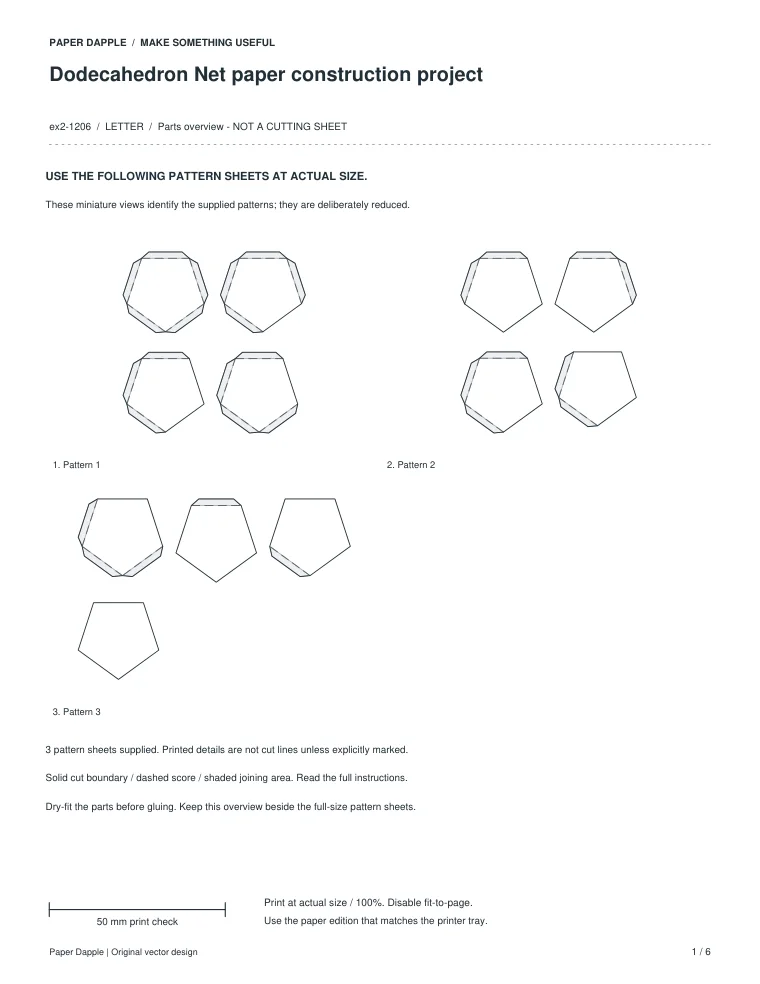
Preview of Dodecahedron Net paper construction project

Paper crafts

Dodecahedron Net paper construction project

Dodecahedron Net paper construction project developed as a measured original paper study. The packet provides the actual parts, joining or shaping marks, drawing dimensions and an assembly sequence. Print at actual size and dry-fit the parts before gluing.

US Letter / A4

Opening Flower pop-up mechanism project