
Gifts & celebrations
Cake-slice presentation box
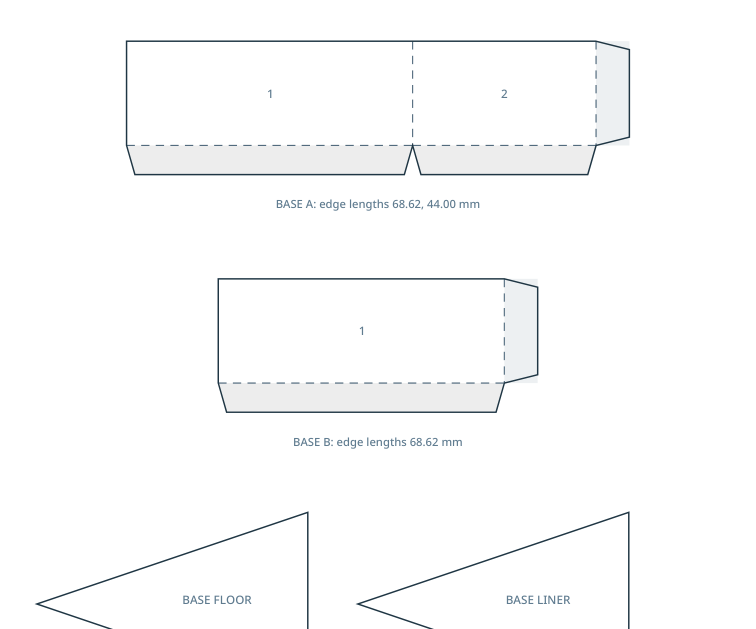
An isosceles wedge-shaped tray with a 65 mm center length, a 44 mm back edge, 25 mm walls and a separately sized lid.
Gifts & celebrations
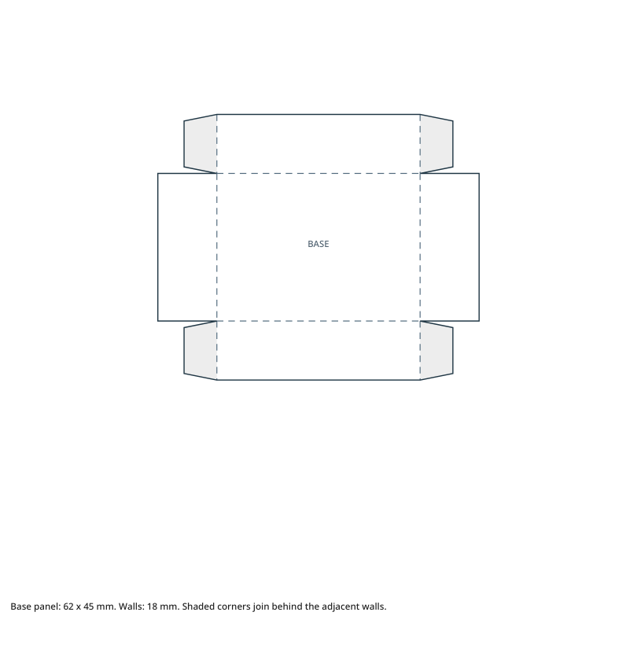
A 68 x 46 mm base tray with 24 mm walls, an attached lid and paired slots for a separate ribbon.
Previews show up to the first two pages. Download the PDF for every page listed in its contents.
Preview of the actual PDF. Open the PDF
MAKE IT WORK FOR YOU
Free · 42 KB · No account needed
Print the matching paper edition at actual size (100%). Measure the printed 50 mm line before cutting. The screen preview is not a measurement test.
Enter these page numbers in your PDF viewer’s print range. Keep any instructions, matching answers and required project pieces.
Studio opens its own editable layout. Check its preview before downloading.
Ribbon-closure hinged box / LETTER
Choose the exact edition first. Its preview, pieces, paper size and instructions belong together; no physical fit or assembly approval is implied.
A hinged lid depends on a clean back crease rather than a thick line of adhesive. Fold the back first, then check the closure flap against the front wall.
Open both ribbon slots before building the tray, and test their alignment with a short scrap strip. Extra paper thickness can change how the flap sits.
A 68 x 46 mm base tray with 24 mm walls, an attached lid and paired slots for a separate ribbon.
The dimensions describe the flat pattern and fold lines, not guaranteed internal capacity.
Physical printing, fit and assembly have not been tested. Make a scrap-paper trial before using special stock.
This is a decorative or organizational paper project, not protective shipping packaging, food-contact material or a load-rated container.
KEEP THE IDEA GOING
Gifts & celebrations
An isosceles wedge-shaped tray with a 65 mm center length, a 44 mm back edge, 25 mm walls and a separately sized lid.
Gifts & celebrations
Build a fold-up tray and a separate sleeve for a sliding presentation box. Keep the two parts together and check their movement before adding decoration or contents.
Gifts & celebrations
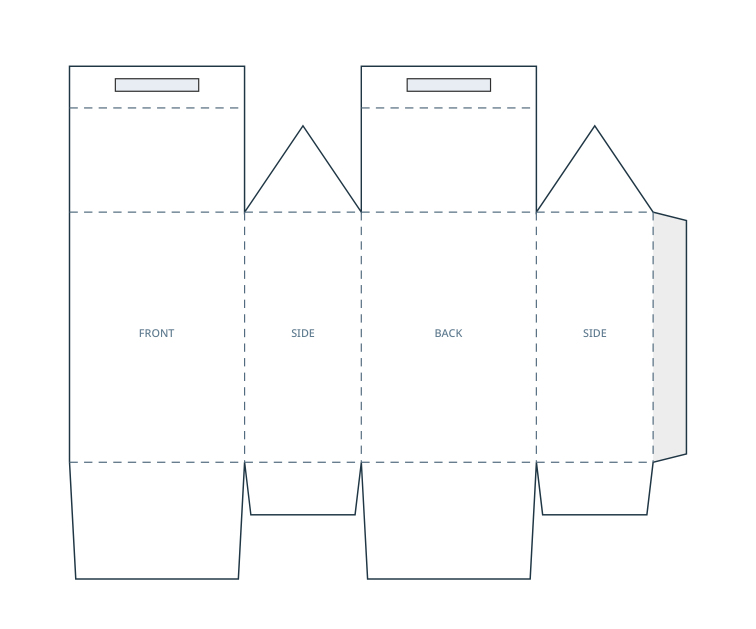
A 42 x 28 mm rectangular base, 60 mm walls and a folded gable closure with paired grip tabs.