
Paper crafts

Flat-Bottom Pouch gift box project

Flat-Bottom Pouch gift box project developed as a fixed-size paper pattern with separate cut, fold and joining marks. Use the stated drawing sizes and make an empty trial before choosing material or contents.
Previews show up to the first two pages. Download the PDF for every page listed in its contents.

Page 1 of 3

Preview of the actual PDF. Open the PDF

MAKE IT WORK FOR YOU

Your printable.

All exact editions
Paper
US Letter
Pages
3
Sheet
215.9 × 279.4 mm
Format
Print PDF
Download PDF

Free · 7 KB · No account needed

Pages in this PDF
  • Page 1 — Assembly instructions
  • Page 2 — gusset panels with four attached bottom flaps
  • Page 3 — Assembly instructions

Enter these page numbers in your PDF viewer’s print range. Keep any instructions, matching answers and required project pieces.

Flat-Bottom Pouch gift box project / LETTER

A good fit for your idea?

Letter and A4 preserve the component dimensions. Choose the sheet you will print, not a different object size.

Materials and construction

Plain paper for a first trial, a ruler, scissors and a blunt scoring tool; adult help for internal cuts.

Before making a batch

Measure the 50 mm reference and at least two named panel dimensions.

Assemble an empty plain-paper trial; record closure, seam, clearance and material behavior.

Inside this edition

Instruction pages
2
Orientation
Portrait

Front and back: 64 x 91 mm; two 12 mm gusset panels; flat base nominally 64 x 12 mm.

Opposed bottom flaps project 8 mm each and overlap by 4 mm. Top fold-over band: 20 mm; side seam: 8 mm.

From file to finished page

  1. Cut the net with all four attached bottom flaps. Score panel divisions, gusset centers, bottom hinges and the top band.
  2. Fold the side panels inward on their middle lines, then reopen to the rectangular cross-section. Glue the 8 mm side seam inside the first panel.
  3. Fold the two narrow dust flaps inward first. Fold the front and back bottom flaps over them; apply adhesive only where their final 4 mm overlap lands.
  4. Let the base dry supported on a flat surface. Gently close the gussets using the bottom diagonal creases without crushing the base.
  5. Fold the 20 mm top band down after loading only an expendable, dry, lightweight trial item. Verify closure and tearing before selecting final paper. This is a display pouch, not a carrying or shipping bag.
Printing and use notes

Nominal drawing dimensions are not a tested usable-capacity, load, mailing, food-contact or archival specification.

Do not place valuable, wet, hot or breakable items in an unreviewed paper prototype.

Direct PDF files for every edition

Use permissions · Report a problem with this printable

KEEP THE IDEA GOING

A few more possibilities.

Explore projects
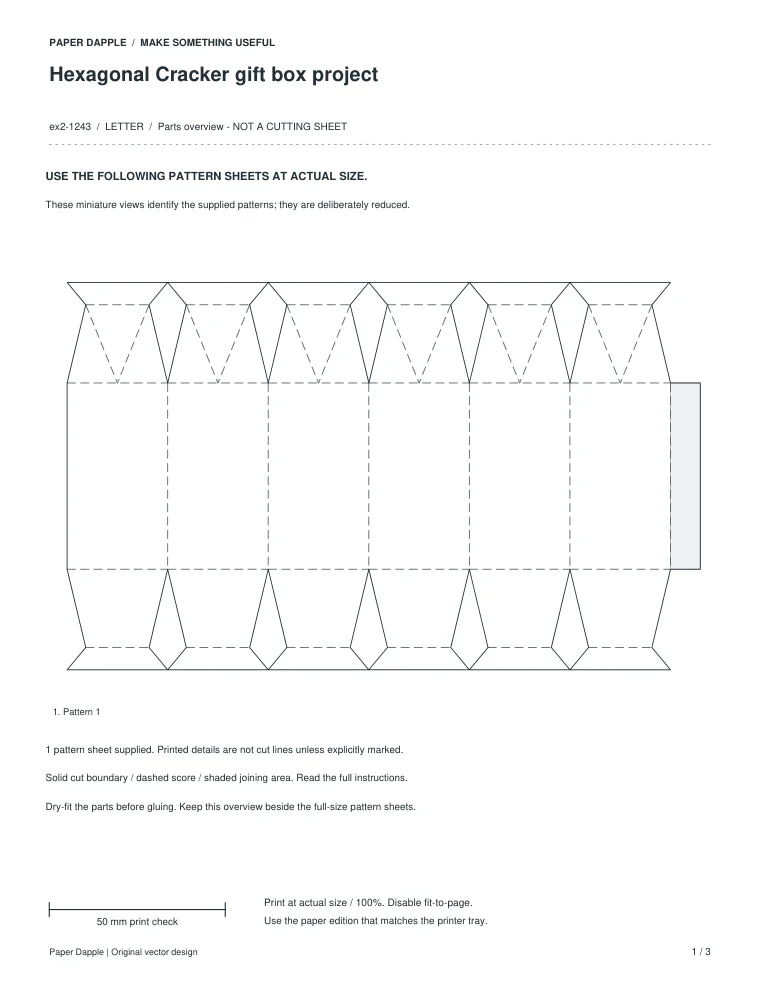
Preview of Hexagonal Cracker gift box project

Paper crafts

Hexagonal Cracker gift box project

Hexagonal Cracker gift box project developed as a fixed-size paper pattern with separate cut, fold and joining marks. Use the stated drawing sizes and make an empty trial before choosing material or contents.

US Letter / A4

Flat-Bottom Pouch gift box project