
Gifts & celebrations
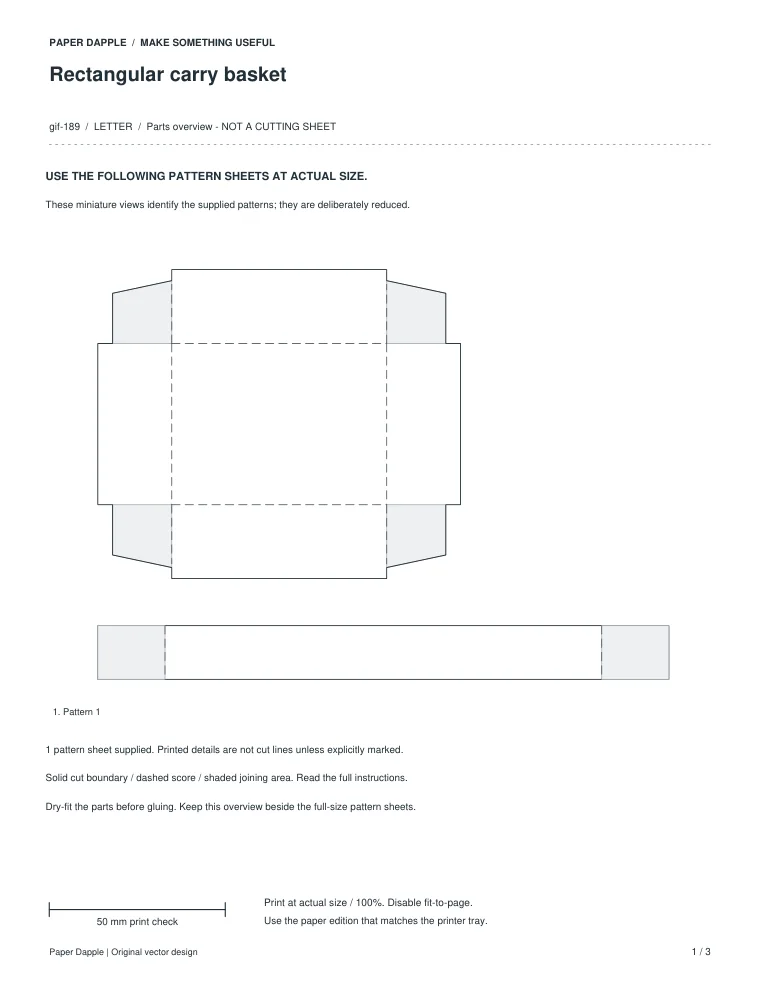
Rectangular carry basket
Rectangular carry basket developed as a fixed-size paper pattern with separate cut, fold and joining marks. Use the stated drawing sizes and make an empty trial before choosing material or contents.
Gifts & celebrations
Round-bottom cone favor pouch developed as a fixed-size paper pattern with separate cut, fold and joining marks. Use the stated drawing sizes and make an empty trial before choosing material or contents.
Previews show up to the first two pages. Download the PDF for every page listed in its contents.
Preview of the actual PDF. Open the PDF
MAKE IT WORK FOR YOU
Free · 11 KB · No account needed
Print the matching Letter/A4 edition at actual size (100%). Measure the 50 mm bar before cutting; trial-fit the parts with your chosen material.
Enter these page numbers in your PDF viewer’s print range. Keep any instructions, matching answers and required project pieces.
Studio opens its own editable layout. Check its preview before downloading.
Round-bottom cone favor pouch / LETTER
Letter and A4 preserve the component dimensions. Choose the sheet you will print, not a different object size.
Plain paper for a first trial, a ruler, scissors and a blunt scoring tool; adult help for internal cuts.
Measure the 50 mm reference and at least two named panel dimensions.
Assemble an empty plain-paper trial; record closure, seam, clearance and material behavior.
Cone sector radius: 77 mm; angle 160 degrees; joining tab 7 mm.
Ideal paper-surface cone: base diameter 68.44 mm and height 68.98 mm before material/adhesive effects.
Nominal drawing dimensions are not a tested usable-capacity, load, mailing, food-contact or archival specification.
Do not place valuable, wet, hot or breakable items in an unreviewed paper prototype.
KEEP THE IDEA GOING
Gifts & celebrations
Rectangular carry basket developed as a fixed-size paper pattern with separate cut, fold and joining marks. Use the stated drawing sizes and make an empty trial before choosing material or contents.
Gifts & celebrations
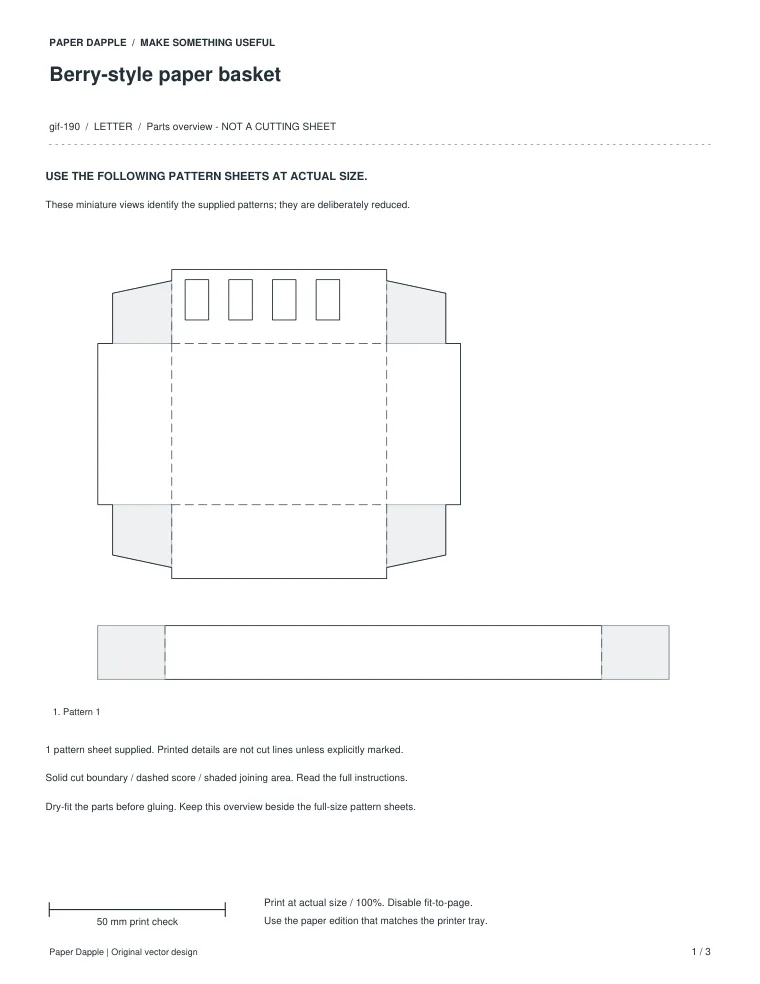
Berry-style paper basket developed as a fixed-size paper pattern with separate cut, fold and joining marks. Use the stated drawing sizes and make an empty trial before choosing material or contents.
Gifts & celebrations
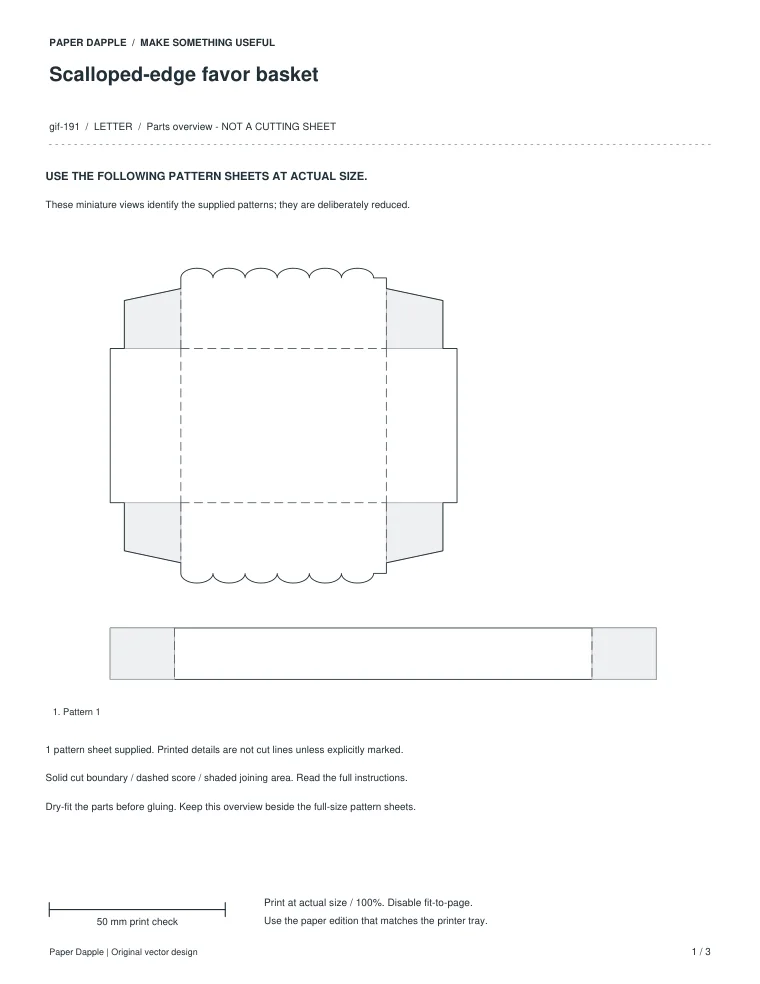
Scalloped-edge favor basket developed as a fixed-size paper pattern with separate cut, fold and joining marks. Use the stated drawing sizes and make an empty trial before choosing material or contents.