
Make the recipient clear without covering the gift.
Inspect this printableA SMALL PROJECT. YOUR OWN WAY.
Finish a gift
A small set of paper pieces that helps the gift feel considered.
Choose a tag, a note and the wrapping piece your gift needs.
Choose your pieces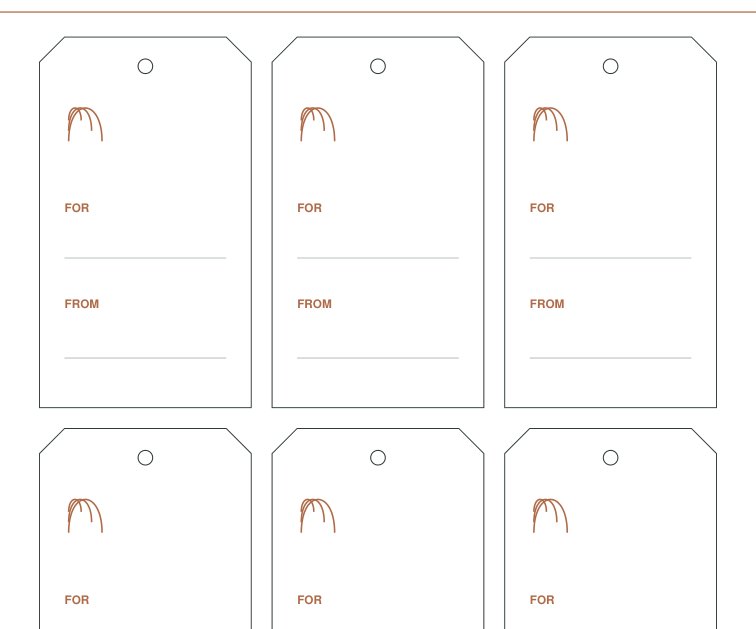
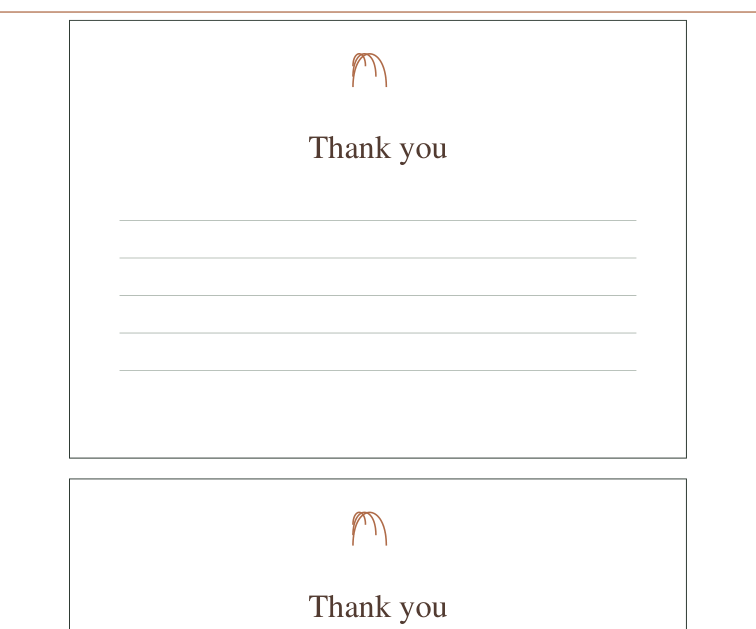
An arrangement of the supplied printable previews.
BEFORE YOU BEGIN
A simple way to start.
- Start with one tag and one note. Add an enclosure only when the gift needs one.
- Check the enclosure dimensions against the gift, then try one fold before making a batch.
Start with a few useful pieces.
The checked pieces are a suggested starting point. Choose your paper, then review your packet or explore more choices below.
Recommended pieces
Alternatives and optional extras (7)
Choose an alternative to replace its matching starting piece, or add an optional extra. Closing this section keeps your selections.
Finish one gift, then make a batch.
Start with a tag and a short note. Write who it is for, cut the tag along its supplied outline, and try its placement before attaching it. Open the chosen printable for any design-specific instructions.
From paper to your project.
Follow the scale and assembly notes on your selected files. Make a physical trial when fit, folding or dimensions matter.
Choose paper · Check scale